
Submitting Timecards
How to log your hours, save a draft, and submit your timecard for approval each week.
Each week you submit a timecard that records the hours you worked on your placement. Once submitted, it moves through an approval chain — first an admin review, then your client approver — before feeding into payroll and invoicing.
Timecards are per-week and per-placement. If you have multiple active placements, each one has its own timecard for the week. Use the placement selector at the top of the page to switch between them.
Open the timecard view
Tap the clock icon (Time Cards) in the bottom navigation bar. You'll land on the current week's timecard.
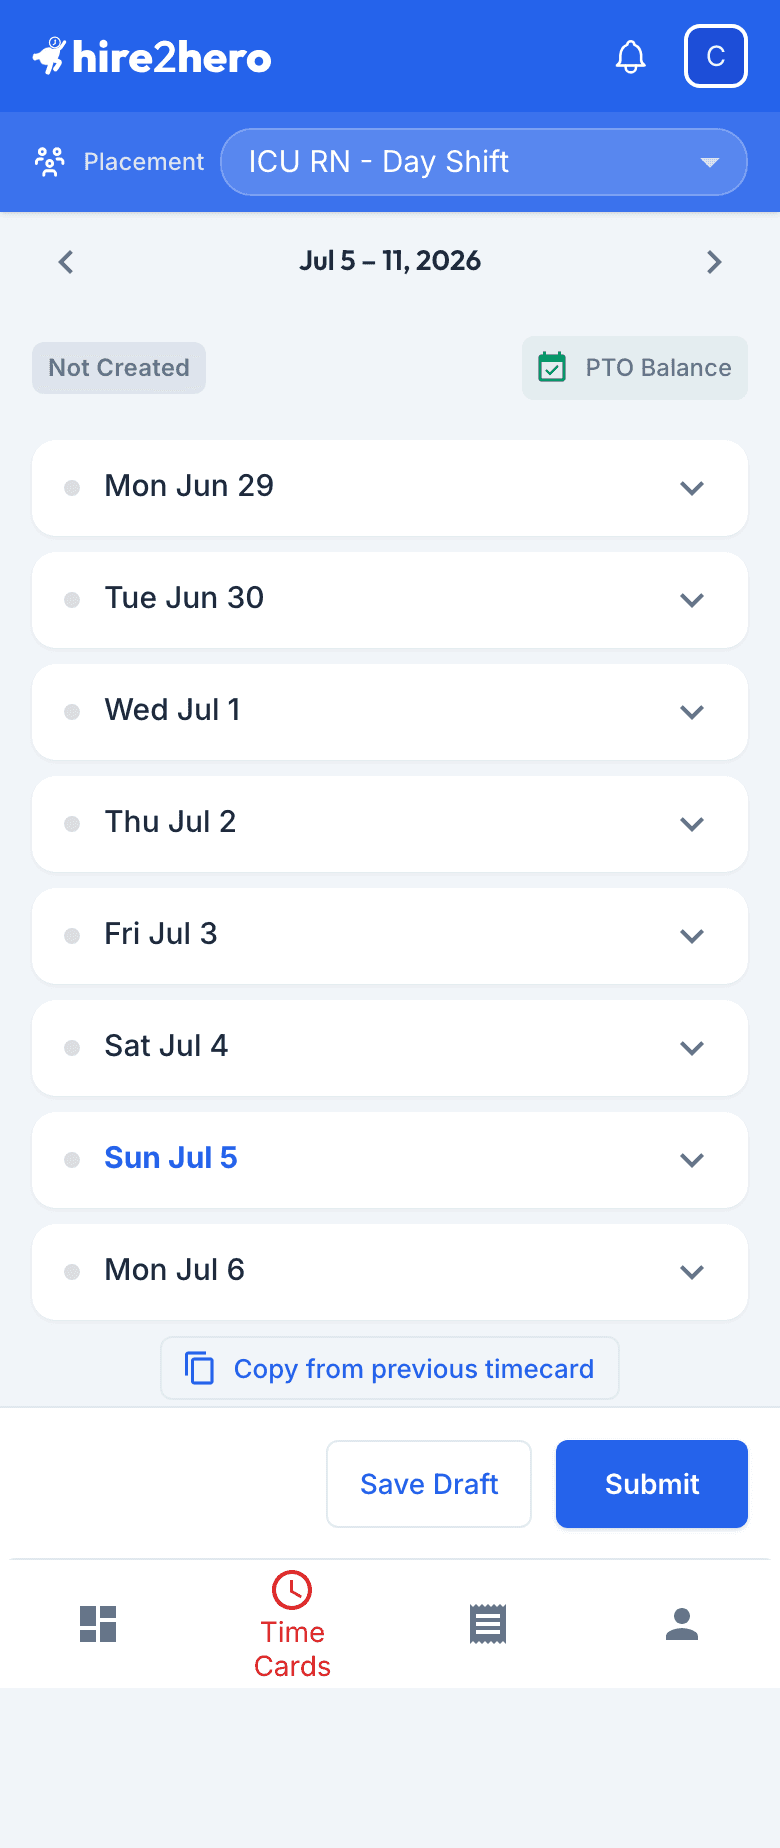
Use the ← → arrows at the top to navigate to previous or future weeks. The week's status badge — Draft, Pending, Approved, or Rejected — appears next to the date range.
Log your hours
Tap the + button on the day you want to log hours for. A time entry modal opens.
Choose a Block Type (for example, Regular, Overtime, or Holiday) from the dropdown. The available block types are set by your placement — if you're unsure which one to use, contact your administrator.
Enter your Start Time and End Time, or fill in the hours directly if your placement uses a simple hours-entry format.
Add an optional Note if you need to explain anything about the entry, then tap Save.
Repeat for each day you worked. You can add multiple entries to the same day for shifts with different block types (for example, regular hours followed by overtime).
To edit an existing entry, tap it in the day row. To remove it, open the entry and tap Delete.
Save a draft
If you're not ready to submit, tap Save Draft. Your entries are saved and the timecard stays in Draft state. You can return to it any time before the submission deadline.
Save a draft at the end of each day so your hours are never lost. You can always edit entries until the timecard is submitted.
Submit for approval
When you've logged all your hours for the week:
Review the Hours Summary bar at the top of the page. Confirm the Regular, Overtime, and Double-time totals match what you expect.
Tap Submit. The timecard moves to Pending state and enters the approval queue.
Once submitted, the timecard is locked for editing and the status chip changes to Pending Approval. If your placement needs more than one approval, an Approval Progress indicator below the status chip shows who has signed off and whose review is next.
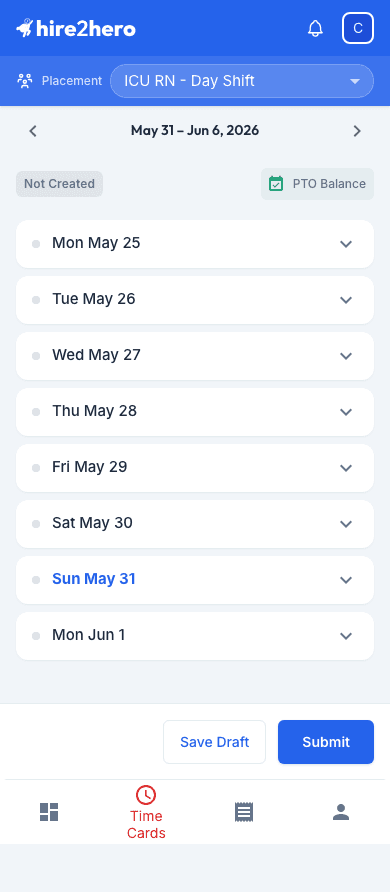
Timecard statuses
| Status | What it means |
|---|---|
| Draft | Not yet submitted. You can add, edit, and remove entries. Administrators see this state labeled as Created in their timecard list. |
| Pending | Submitted and awaiting admin or client approval. Locked for editing. |
| Approved | Fully approved and flowing into payroll. |
| Rejected | Your admin or approver found an issue — see the rejection note and resubmit. |
If your timecard is rejected
You'll receive a notification when a timecard is rejected. The rejection reason appears as a banner at the top of the timecard view.
Read the rejection note to understand what needs to change.
Tap Unsubmit to unlock the timecard for editing.
Make the requested corrections, then tap Submit again.
Tapping Unsubmit returns the timecard to Draft state — it's no longer in the approval queue. Remember to resubmit once your corrections are done.
Clock In / Clock Out (if enabled)
Some placements use a Clock In / Clock Out flow instead of manual entry. If your placement has this enabled, you'll see clock-in controls at the top of the app.
Select your Block Type from the dropdown (for example, Regular).
Tap Clock In. The app records your start time and, if your placement requires it, your current location.
When your shift ends, tap Clock Out. The entry is automatically added to the current day on your timecard.