
Billing & Payments
How to subscribe to Hire2Hero, understand your usage and bill, change plans, manage payment details, and cancel or resume a subscription.
Hire2Hero bills monthly or annually based on the number of timecards processed through your account. There are two subscription tiers — Starter and Professional — each with a monthly minimum that covers a set number of included timecards, plus a per-timecard rate for usage above that threshold.
Plans at a glance
| Starter | Professional | |
|---|---|---|
| Admin seats | Limited | Unlimited |
| Billing interval | Monthly or annual | Monthly or annual |
| Included timecards | Plan-defined | Plan-defined |
| Additional timecards | Per-timecard rate | Per-timecard rate |
| Annual savings | Available | Available |
Switching to annual billing saves money versus paying month-to-month. The annual plan is charged in full at the start of the period.
Initial setup
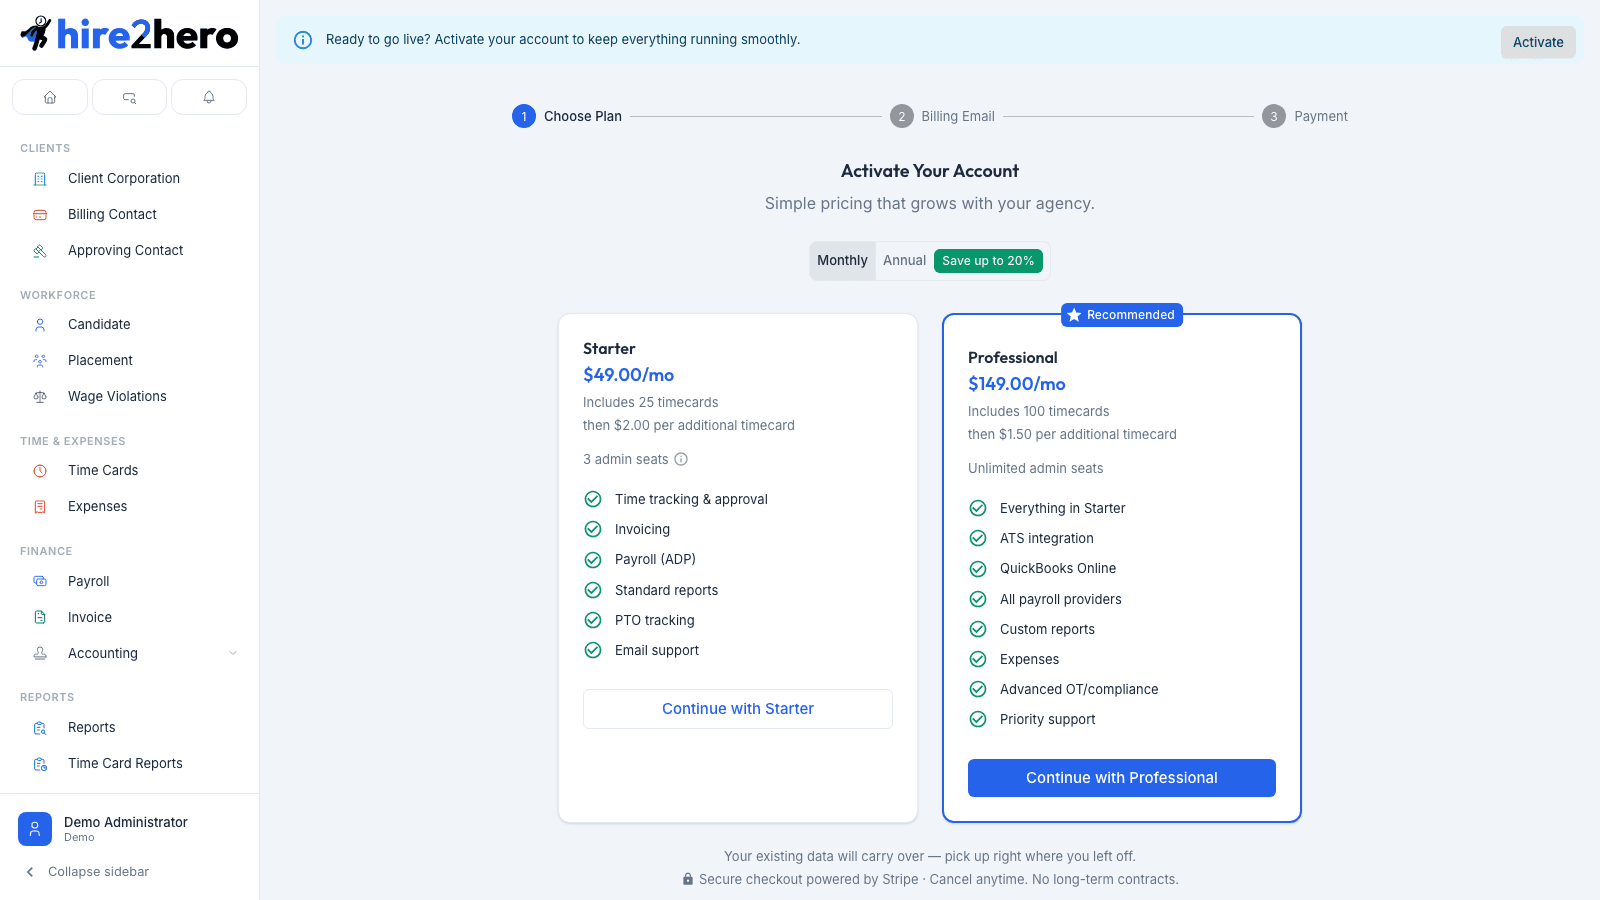
If your account has not yet been activated, you'll land on the billing setup page. The process is three steps.
Step 1 — Choose a plan
Select Monthly or Annual billing using the toggle at the top of the plan cards.
Review the Starter and Professional cards. Each shows the monthly minimum, included timecards, per-timecard overage rate, and the features included at that tier.
Click Select Plan on the card that fits your agency. You'll advance to step 2 automatically.
If you arrived from the Hire2Hero pricing page with a plan pre-selected, the picker starts on step 2 with your chosen plan pre-filled. You can click Change plan to go back and pick a different option.
Step 2 — Confirm billing email
Review the billing email shown. This is where Hire2Hero sends invoices and payment receipts. It defaults to your account email but can be changed.
Update the email if needed, then click Continue to checkout.
Step 3 — Checkout
Hire2Hero uses Stripe for secure payment processing. You'll be redirected to Stripe's hosted checkout page to enter your payment details. Once complete, Stripe redirects you back to the admin dashboard and your subscription is active.
Your data (placements, timecards, candidates, etc.) carries over — nothing is reset when you activate a paid subscription.
Billing usage
Once your subscription is active, navigate to Settings → Billing to view your current billing period details.
Reading the usage meter
The top card shows your timecard usage for the current billing period:
- Timecards this period — how many timecards have been processed so far.
- Progress bar — fills as you approach your plan's included limit. Once full, additional timecards are charged at the per-timecard rate.
- All included (green) — you're within your plan's limit.
- X additional timecards at $Y each — how many timecards are above the limit and the overage rate being applied.
Reading the estimated bill
The second card breaks down your estimated charge for the current period:
| Line | What it represents |
|---|---|
| Base amount | Your plan's monthly (or annual equivalent) minimum |
| Additional timecards | Overage count × per-timecard rate (only shown if over limit) |
| Total | Sum of the above — what you'll be charged at period end |
The next billing date is shown below the breakdown.
The total is an estimate — it updates as more timecards are processed through the period. The actual charge runs on your next billing date.
Change plan
Click Change Plan to open the plan change dialog. Select the new tier and billing interval, then confirm.
- Immediate changes — switching to a higher tier takes effect right away.
- Scheduled changes — downgrades typically take effect at the end of the current billing period. The dialog will tell you the effective date.
If your subscription is scheduled for cancellation, the Change Plan button is hidden. Resume the subscription first (see Cancel or resume), then change the plan.
Manage payment details and invoices
Click Manage Billing to open the Stripe Customer Portal. From there you can:
- Update your payment method (credit card, bank account).
- Download past invoices and receipts.
- View the full billing history.
The View invoices link at the bottom of the usage page is a shortcut to the same portal.
Cancel or resume
To cancel, scroll to the bottom of the billing usage page and click Cancel subscription. A confirmation dialog explains the cancellation terms:
- Your subscription stays active until the end of the current billing period.
- You will not be charged again after that date.
- All your data is preserved.
After confirming, a warning banner appears at the top of the usage page showing the date your subscription ends, with a Resume button.
To undo a scheduled cancellation before the period ends, click Resume in the banner. Your subscription continues uninterrupted.
Once the billing period ends, access to the admin portal is suspended until a new subscription is set up. Resume before the cancellation date to avoid any interruption.
Upgrade suggestion
If you are on the Starter plan and accumulate 50 or more additional timecards in a period (above your included limit), an info banner appears on the usage page suggesting an upgrade to Professional. Upgrading may reduce your per-period cost if your usage consistently exceeds the included threshold.