
User Management
How to create and manage administrator accounts and the roles that control what each admin can see and do.
The admin portal uses a two-layer permission model. Roles define a named set of permissions. Administrators are the user accounts that log into the portal — each one is assigned one or more roles that determine what they can access.
Set up roles first, then create administrator accounts and assign roles to them.
Managing administrators and roles requires the Manage Administrators and Write Role permissions respectively. Without them, these menu items will not appear in Settings.
Roles
Roles let you group permissions into a reusable bundle. For example, you might create a "Payroll Only" role that grants access to payroll and invoice pages but nothing else, and assign it to staff who only process payroll.
Browse roles
In the sidebar, open Settings and choose Roles. The list shows every role defined for your agency.
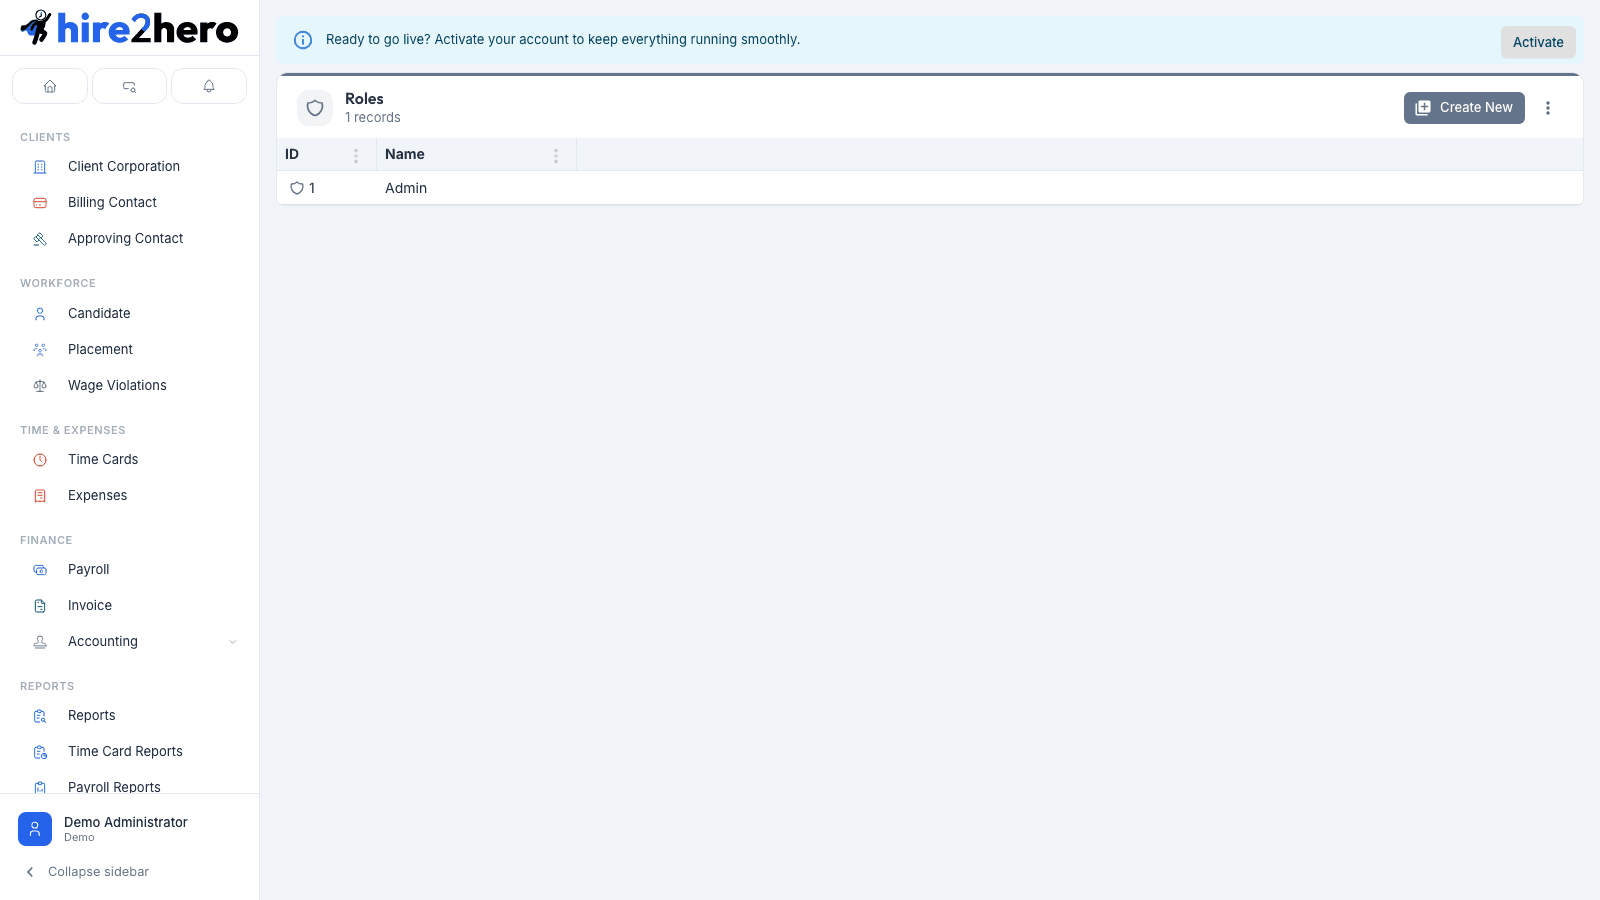
Create a role
Click + New in the toolbar.
Enter a Name for the role — something descriptive like "Payroll Manager" or "Read Only".
In the Permissions section, use the search box to find individual permissions and check the ones this role should grant. You can select as many as needed.
Click Save.
Edit or delete a role
Click any role row to open the detail panel. Update the name or permission selection, then click Save. To remove the role entirely, use the delete option in the form toolbar.
Deleting a role immediately removes it from every administrator who has it assigned. Verify no admins rely solely on a role before deleting it.
Administrators
Administrator accounts are the logins for your agency staff. Each account has a name, email address, and one or more roles.
Browse administrators
In the sidebar, open Settings and choose Administrators. The list shows every admin account for your agency.
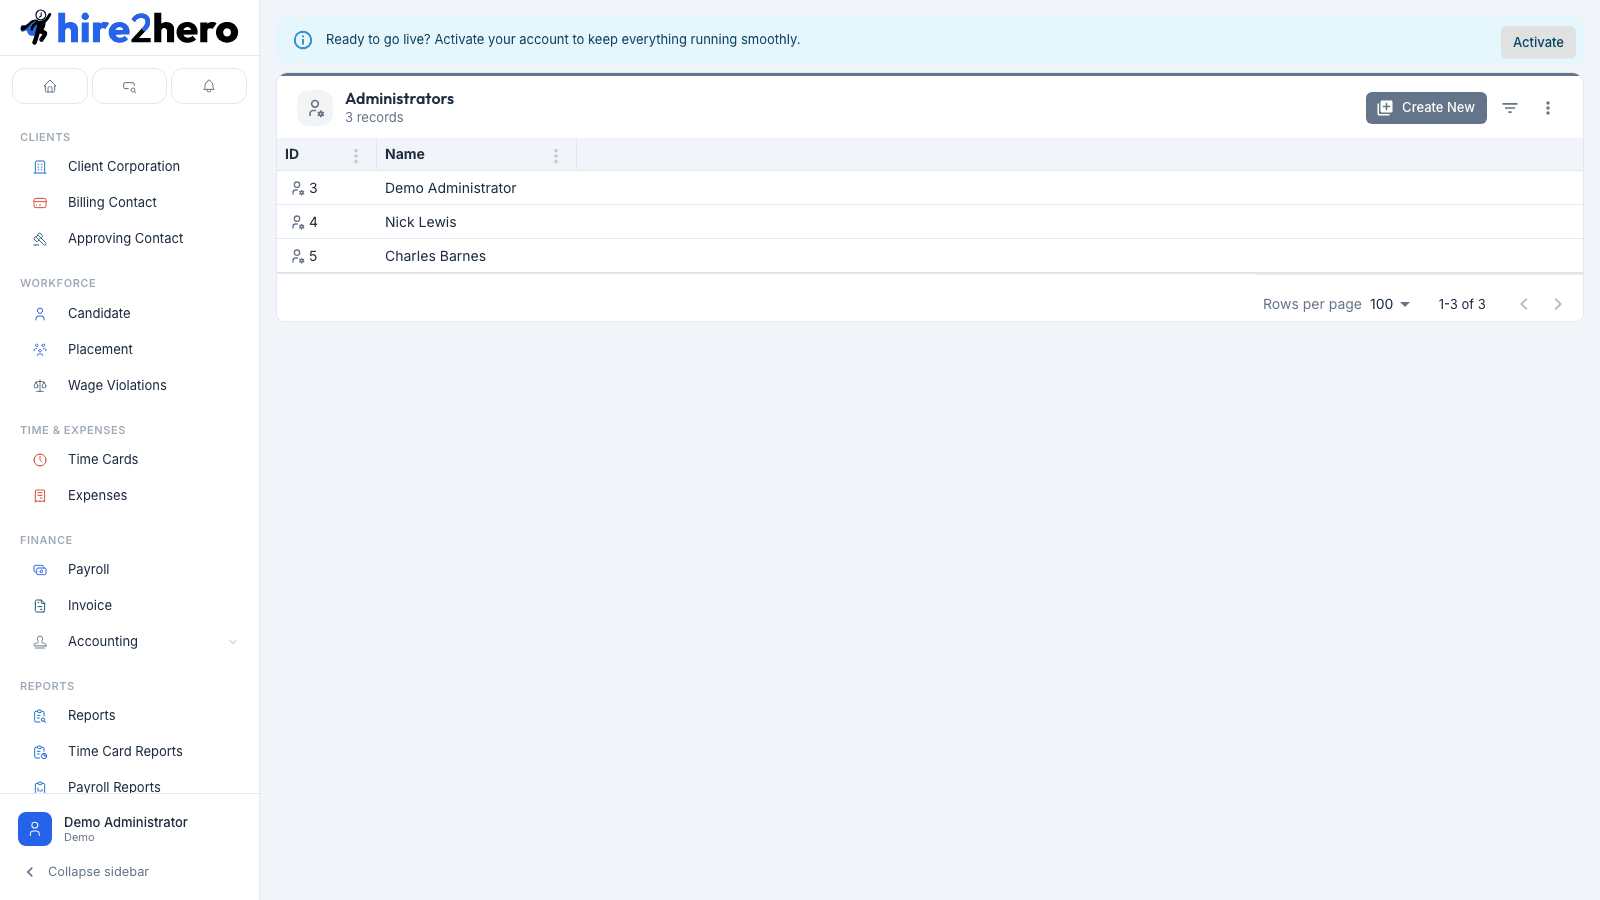
Create an administrator
Click + New in the toolbar.
Fill in the Basic Information section:
| Field | Notes |
|---|---|
| First Name | Admin's given name |
| Last Name | Admin's family name |
| Used to log in — must be unique | |
| Roles | One or more roles from your defined list |
Click Save. The new admin will receive an invitation email at the address you entered.
Assign at least one role before saving, or the administrator will be able to log in but will see an empty portal with no accessible pages.
Edit or delete an administrator
Click any administrator row to open the detail panel. You can update their name, email, or role assignments. To remove the account, use the delete option in the form toolbar.
Deleting an administrator account immediately revokes their access. They will not be able to log in after deletion.