
Expenses
How to review, approve, and reject candidate expense submissions as an administrator.
Candidates submit expense claims — mileage, meals, supplies, and similar items — directly from their portal. Those submissions flow into your admin expense queue for review and approval. Once approved, billable expenses roll up into the related invoice.
Open the expense list
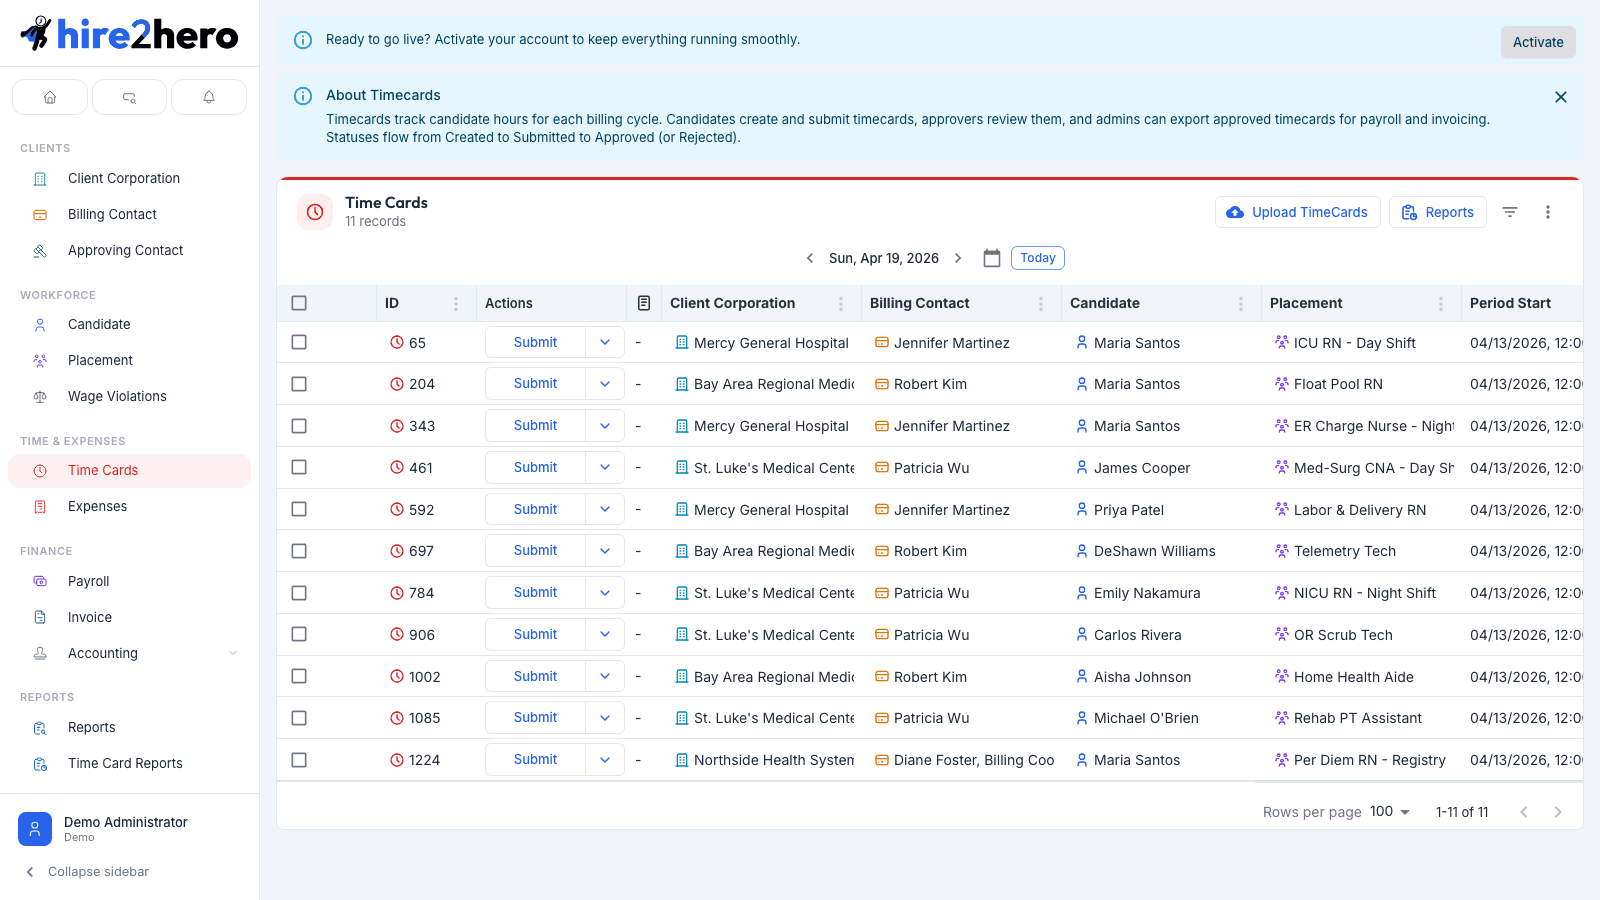
In the sidebar, choose Time & Expenses → Expenses. You'll see all expense submissions across all candidates and placements. Use the filters to narrow by candidate, placement, status, or date.
Understand amounts and categories
Every expense is tied to an Expense Category configured by your organization. Categories control:
- Multiplier — Scales the entered amount. For mileage, the candidate enters a distance and the category multiplier converts it to a dollar amount (e.g., 100 miles × $0.67 = $67.00). For flat-cost items the multiplier is 1.
- Billable / Reimbursable defaults — Whether the expense should be billed to the client, reimbursed to the candidate, or both.
Understand the status lifecycle
Expenses go through a multi-step approval chain:
| Status | Meaning |
|---|---|
| Draft | Saved by candidate, not yet submitted |
| Pending Approval | Submitted and waiting for client approver(s) |
| Partially Approved | At least one approver has approved; others still pending |
| Pending Admin Approval | Approvers done (or expense is non-billable); waiting on you |
| Approved | Fully approved |
| Rejected | Rejected — rejection message visible to candidate |
When admin approval is required — If an expense is non-billable (reimbursable only), it comes directly to admin approval, skipping client approvers. Billable expenses go to client approvers first, then land in your queue.
Approve an expense
Find expenses in Pending Admin Approval status. You can filter by status using the Status column filter.
Click a row to open the expense detail. Review the category, service date, entered amount, calculated total, and any attachments (receipts).
Click Approve. The expense moves to Approved status. If billable, it will be included on the next invoice for the related placement.
Reject an expense
Open the expense and click Reject.
Enter a short rejection message explaining what needs to be corrected. The candidate sees this message.
Click Confirm. The expense moves to Rejected status. The candidate can edit and resubmit.
Be specific in rejection messages. "Incorrect category — please use Mileage instead of Meals" saves a back-and-forth compared to "Wrong category."
Un-submit an expense (edge case)
If an expense needs to be pulled back before you've acted on it, you can un-submit it. This returns the expense to Draft so the candidate can edit it.
Un-submitting resets the entire approval chain. Any approvals already given by client approvers are lost.
Bulk actions
Select multiple rows with the checkboxes on the left, then use the toolbar to Approve or Reject several expenses at once.